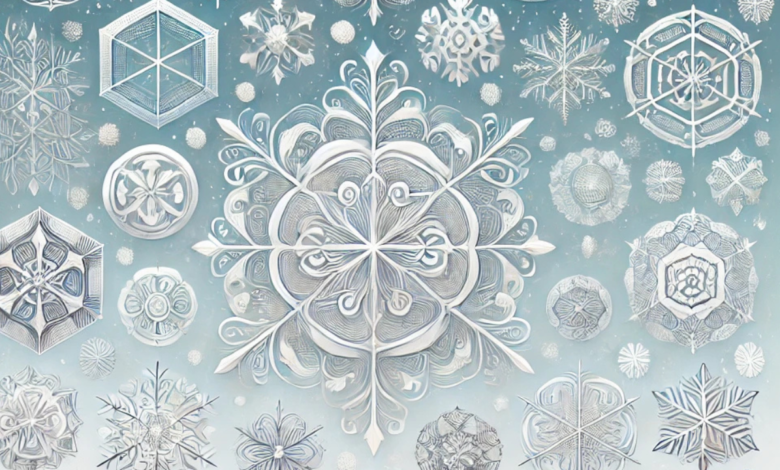
Snowflake Drawing Techniques: From Simple to Intricate Designs

Snowflakes are fascinating natural wonders, and drawing them can be a fun, creative, and rewarding activity. With their unique, symmetrical designs, snowflakes offer endless possibilities for artistic expression. Whether you’re a beginner or a seasoned artist, mastering snowflake drawing techniques can help you create designs ranging from simple to highly intricate. This guide will take you through the process, providing tips and insights to elevate your snowflake drawings.
Understanding the Basics of Snowflake Structure
Before diving into drawing, it’s helpful to understand the basic structure of a snowflake. Snowflakes are hexagonal, meaning they have six symmetrical arms extending from a central point. This symmetry is the defining feature of snowflakes and should guide your drawings.
Each arm of the snowflake is identical, which means you need to replicate patterns consistently. This symmetry will make even the most complex designs look cohesive and professional.
Simple Snowflake Drawing Techniques
Basic Lines and Shapes
Start by drawing simple, symmetrical designs using straight lines and basic geometric shapes:
- Step 1: Draw a small circle or dot at the center of your page to serve as the starting point.
- Step 2: Sketch six straight lines evenly spaced from the center to create a hexagon shape.
- Step 3: Add small triangles, circles, or V-shapes along each arm to decorate your snowflake.
This method is perfect for beginners who want to create clean, symmetrical snowflakes without much complexity.
Using a Grid for Symmetry
For more accuracy, create a grid or use a stencil:
- Divide your paper into six equal segments like a pie chart.
- Use these guides to replicate patterns consistently across all arms.
- Add details such as small diamonds, arrows, or curved lines along each segment.
Intermediate Snowflake Drawing Techniques
Freehand Patterns
Once you’re comfortable with the basics, experiment with freehand patterns:
- Begin with a central circle and draw six arms as before.
- Create organic shapes like wavy or jagged lines to mimic natural snowflake designs.
- Add details like spirals, loops, or teardrop shapes to give the snowflake character.
Layering for Depth
To add depth, use layering techniques:
- Start with a basic snowflake design as the foundation.
- Add a second layer of slightly smaller arms and patterns between the existing ones.
- Use shading or hatching to enhance the 3D effect.
Advanced Snowflake Drawing Techniques
Intricate Geometric Patterns
For a more intricate look, incorporate geometric designs:
- Use compasses and protractors to draw precise circles and angles.
- Divide your snowflake into multiple layers of hexagonal shapes, each with unique patterns.
This technique requires patience and precision but produces highly detailed and professional-looking snowflakes.
Realistic Snowflake Designs
To mimic real-life snowflakes:
- Study photos of real snowflakes for inspiration.
- Use fine-tip pens or pencils to add tiny, delicate details, such as crystalline structures.
- Blend lines and use subtle shading to create a realistic appearance.
Digital Snowflake Drawing
For artists who prefer digital mediums:
- Use software like Adobe Illustrator or Procreate to create symmetrical designs.
- Many digital tools have symmetry rulers, making it easy to replicate patterns.
- Experiment with textures, gradients, and colors to give your snowflakes a unique look.
Tips for Enhancing Your Snowflake Drawings
- Practice Symmetry: Use a light pencil to sketch guidelines before adding details.
- Experiment with Tools: Try different tools like fine-tip markers, gel pens, or colored pencils.
- Add Color and Texture: Incorporate light blues, silvers, or whites to mimic the icy appearance of snowflakes.
- Incorporate Backgrounds: Place your snowflake drawings against wintery backgrounds like snowy skies or frosty windows.
Creative Uses for Snowflake Drawings
Snowflake drawings are versatile and can be used for various creative projects:
- Holiday Cards: Add hand-drawn snowflakes to custom cards.
- Decorations: Use your designs for festive decor or DIY ornaments.
- Craft Projects: Transfer your drawings onto fabric or paper for unique crafts.
- Digital Art: Create patterns for wallpapers, prints, or graphic design projects.
Common Mistakes to Avoid
- Lack of Symmetry: Ensure all arms are identical for a balanced design.
- Overloading Details: Avoid cluttering your snowflake with too many elements, making it look messy.
- Skipping Guidelines: Always start with light sketches or a grid to maintain structure.
FAQs About Snowflake Drawing Techniques
1. How do I draw a perfectly symmetrical snowflake?
Use a grid or ruler to divide your drawing into six equal sections. Work on one arm at a time, ensuring each arm mirrors the others.
2. What tools are best for drawing intricate snowflakes?
Fine-tip pens, gel pens, compasses, and protractors are great for precision. Digital tools with symmetry rulers are excellent for detailed designs.
3. Can I use snowflake drawings for craft projects?
Yes! Snowflake drawings are perfect for DIY cards, holiday decorations, and digital designs. They can also be transferred onto fabric or wood for unique crafts.
4. How can I make my snowflake drawings more realistic?
Study real snowflakes for inspiration. Use delicate lines, shading, and intricate patterns to replicate their natural appearance.
5. Is it better to draw snowflakes by hand or digitally?
Both methods have their advantages. Hand drawing allows for personal creativity and texture, while digital drawing offers precision and advanced tools for complex designs.
Conclusion
You May Also Read:https://usabestweekly.com/


